
Smart Swiss QR-Bill INSTRUCTIONS
It is best to use the App in Chrome or Safari web browsers.
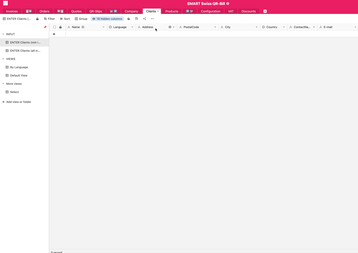
Tables
- Invoices
Create invoices with as many order lines as needed. Add collaborator contact, due date and other fields - Orders
Prepare order lines with an optional date for services - Quotes
Create quotes and convert them into invoices when your client has accepted it - QR-Slips
where you will produce and keep your QR-Bill Slips - Company
where you validate your Company data (IBAN or QR-IBAN) and generate the "empty" QR-Bill Slips - Clients
where you manage the contact details of your clients - Products
Manage all your products and services in one place - Configuration
where your credentials are saved (this table is automatically configured and linked to your active subscription) - VAT
Update any VAT rate - Discounts
Create percentage or fixed-price discounts
Views
Pin the View
Example
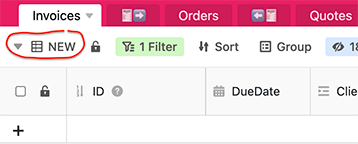
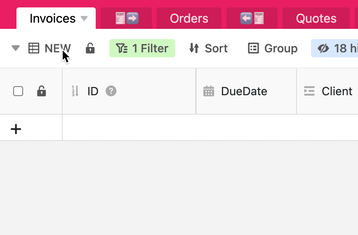
For example, the table Invoices has four views: NEW, QR-Slips by Client, QR-Slips by Status, Default View.
Use the NEW view to create a new invoice
Use the Invoices by Client view to see all the invoices related to each of your clients
Use the Invoices by Status view to see all the invoices by Status (Due or Paid)
For each table, you will have the default View, this view contains all the data unsorted, and you don't need to access that view in your workflow.
Customise a view
Your product is flexible; if you want to customise a view, we recommend that you create a new view and customise it. You can also create folders to manage your views.
1. Company table setup
- Logo
We have attached a template png for your reference; please upload your logo in the same size, with transparent background - Address
Please enter the building number after the Street, like this:
Lake Street 17 (not 17 Lake Street) - IBAN
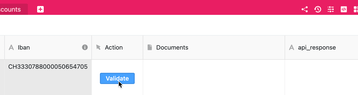
Either use your corporate IBAN or the QR-IBAN. Enter your IBAN or QR-IBAN number without spacing like this CH3330000777700007777 the system will automatically check the kind of IBAN you are using and adapt the QR-Bill type accordingly (QRR or SCOR Type) - UID
Enter your Swiss UID number as it is required. Use the following format"123456789" (9 numbers accolated). Your VAT number will be generated according to the Main language you select in the "Company" table. - isVAT (checkbox)
Show (checked) or hide (unchecked) your VAT number in the letterhead of your documents
Validate button
after entering all the above information, please click on the button "Validate".
2. VAT & Discounts table setup
- VAT & Rate
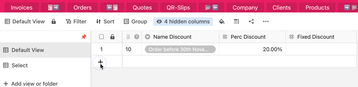
In the VAT table, you can create or update VAT rates - Name Discount
Select or create a new description. Those descriptions will appear in your invoices - Perc Discount
If your discount is a percentage discount, fill this cell and leave the fixed discount empty - Fixed Discount
If your discount is a fixed discount, fill this cell and leave the percentage discount empty
Create a new discount
3. Clients table setup
- Address
Please enter the building number after the Street, like this:
Lake Street 17 (not 17 Lake Street) - Language
Pick "EN", "DE", "FR", or "IT" to generate the QR-Bill in the language of your client!
The language option is associated with your client.Smart, no? Your client will receive your documents in his local language.
Importing client's data
Importing your client's data into the table is easy. Use the excel template you received from us by email to copy your client's contact details.
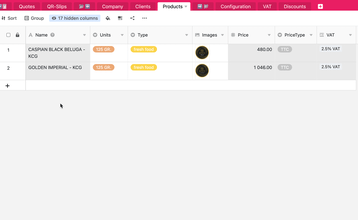
4. Products table setup
- Name
Enter the name of your product or service. This field will be used in the order lines of your quotes or invoices. - Units & Type
Add the unit and the type. The unit field will appear in your invoices. - Price
Enter the price of your product. If the price includes VAT, select "TTC" in the PriceType column. If the price is ex-VAT, select "HT" in the PriceType column. - PriceType & VAT
Select “HT” or “TTC” and select the VAT Rate associated with your product or service.
Create a new product
To create a new product, click on the “+” sign in the first column and fill in all the Orange cells (orange means required): enter the name, enter a price and select the PriceType and VAT.
Importing products' data
Importing your products' data into the table is easy. Use the excel template you received from us by email to copy your client's contact details. You can also use the "ENTER PRODUCTS (All Info)" view to fill in descriptive product fields like product barcode, colours, style, SKU and even define promotional prices that you could activate with a check-box.
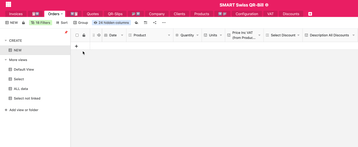
5. Orders table
Create your order lines
- You will always start by creating your order lines before producing an invoice or a quote.
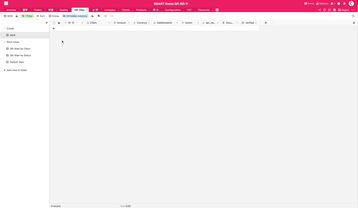
Go to the Orders table and select the "NEW" view.
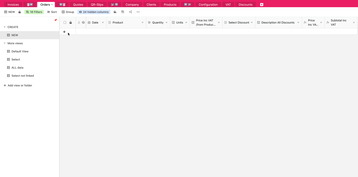
6. Invoices table
- Produce your invoice documents that include the QR-Bill payment slip in 4 languages (the language of the document will depend on the language associated with the client in the Clients table)
Go to the Invoices table and select the "NEW" view.
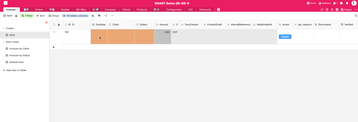
When you fill in the field, the colour changes from orange to light grey.You can also fill in optional fields like the contact name, the contact email, an internal reference or additional information. This data will show on your invoice and payment slip when filled.
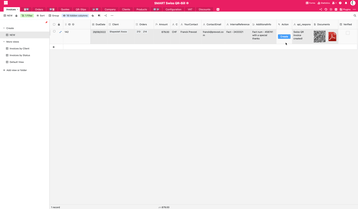
Now click on the button “Create" to create the document. You will see the message "Swiss QR Invoice created", a PDF document, and the QR-code image created and saved in the Document column.
AdditionalInfo field
You can enter as many as four lines. You can even set a default value; this field would be pre-filled with the different reference titles used for your bills.
Used order line will disappear from the Orders table "NEW" view
When you use an order line from the orders you created in the previous step (5. Orders table: create your order lines)
Verified feature
Just click on the pdf icon to open the document. Open, print, send or download it. Once verified, you can click on the "Verified" check box, and your Invoice document will be archived and moved from the "NEW" view to the other views.
7. Quotes & QR-Slips tables
- Once you know how to create an invoice document, use the same workflow to create quotes or QR-Bill payment slips.
Click on the "+" sign in the first column of the table: it will add a new line.
Please close the "row detail" window that will pop up as it will be easier to fill in the data from the grid.
When you fill those required fields, the colour changes from orange to light grey. The areas in light grey are always optional, but if you fill them, they will appear in the document.


